Clonezilla
You can use this method to clone a physical machine to another physical machine, or migrate a VMware ESXi VM to Proxmox...
Please note that Clonezilla cannot restore to a smaller disk; you must have a destination disk of the same size or larger.
If the source machine uses UEFI mode, the target machine must also be configured in UEFI mode.
Similarly, if the source machine is running in Legacy mode, the target machine must also be in Legacy mode.
This method works for both Windows and Linux, as long as Linux can properly see the disk.
Download Clonezilla :
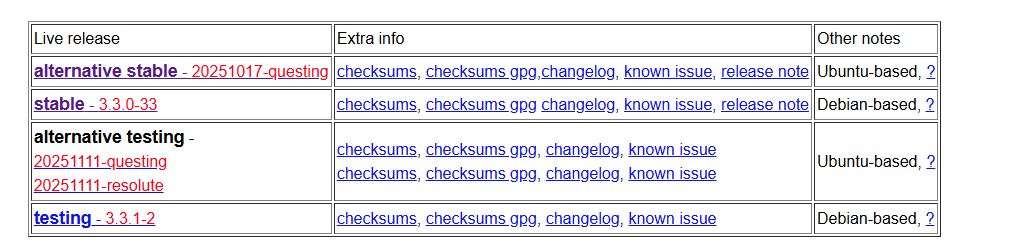
You need to choose which version of Clonezilla suits you best. You have a stable Debian version and a stable Ubuntu alternative version.
For an older machine, I recommend the stable Debian version. You won't have any problems.
But for a newer machine that requires a recent Linux kernel to ensure that the NVMe controller is recognized, use the stable Ubuntu alternative version.
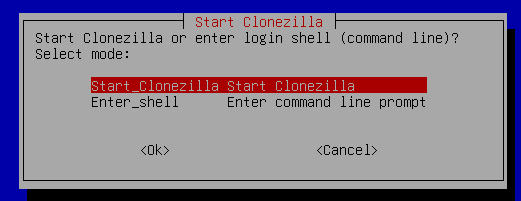
On Asus 2025 you may encounter problems starting clonezilla, in this case you must use the Start with copy file to ram mode option on clonezilla.
Clonezilla Configuration :
You can create an image if you need to act quickly with regard to the employee. For example, if they need to work on a project in the afternoon, you can create an image with an external hard drive at lunchtime and then restore their image when they are working. But be sure to warn them not to save any very important data during cloning, as the data content will obviously not be updated.
However, if the employee is flexible... You can use network cloning, provided that the local network is of good quality.
Cloning with an external hard drive :
You need to determine whether you want to clone over the network or use an external hard drive to create an image.
Don't forget to switch the RAID controller to AHCI so that the NVMe is detected.
Old machine :
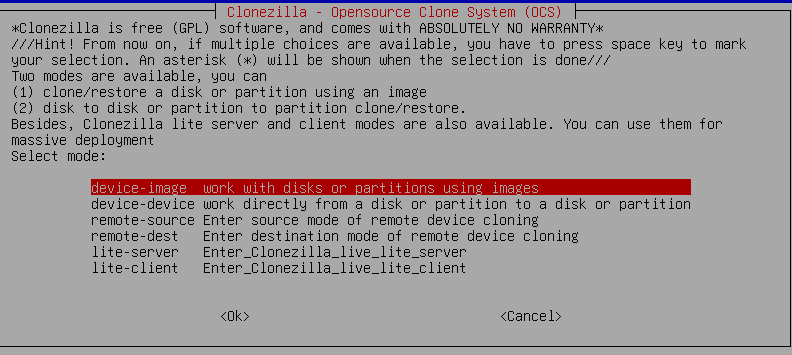
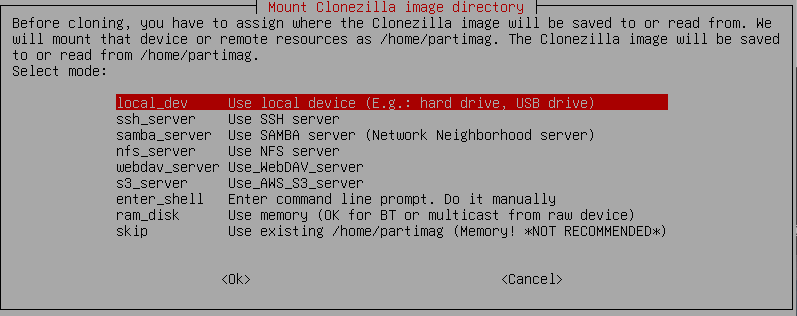
Select Device-Image
You can also use a webdav, nfs samba, or ssh server, but in our case we will use local_dev for the USB devices physically connected to the machine.

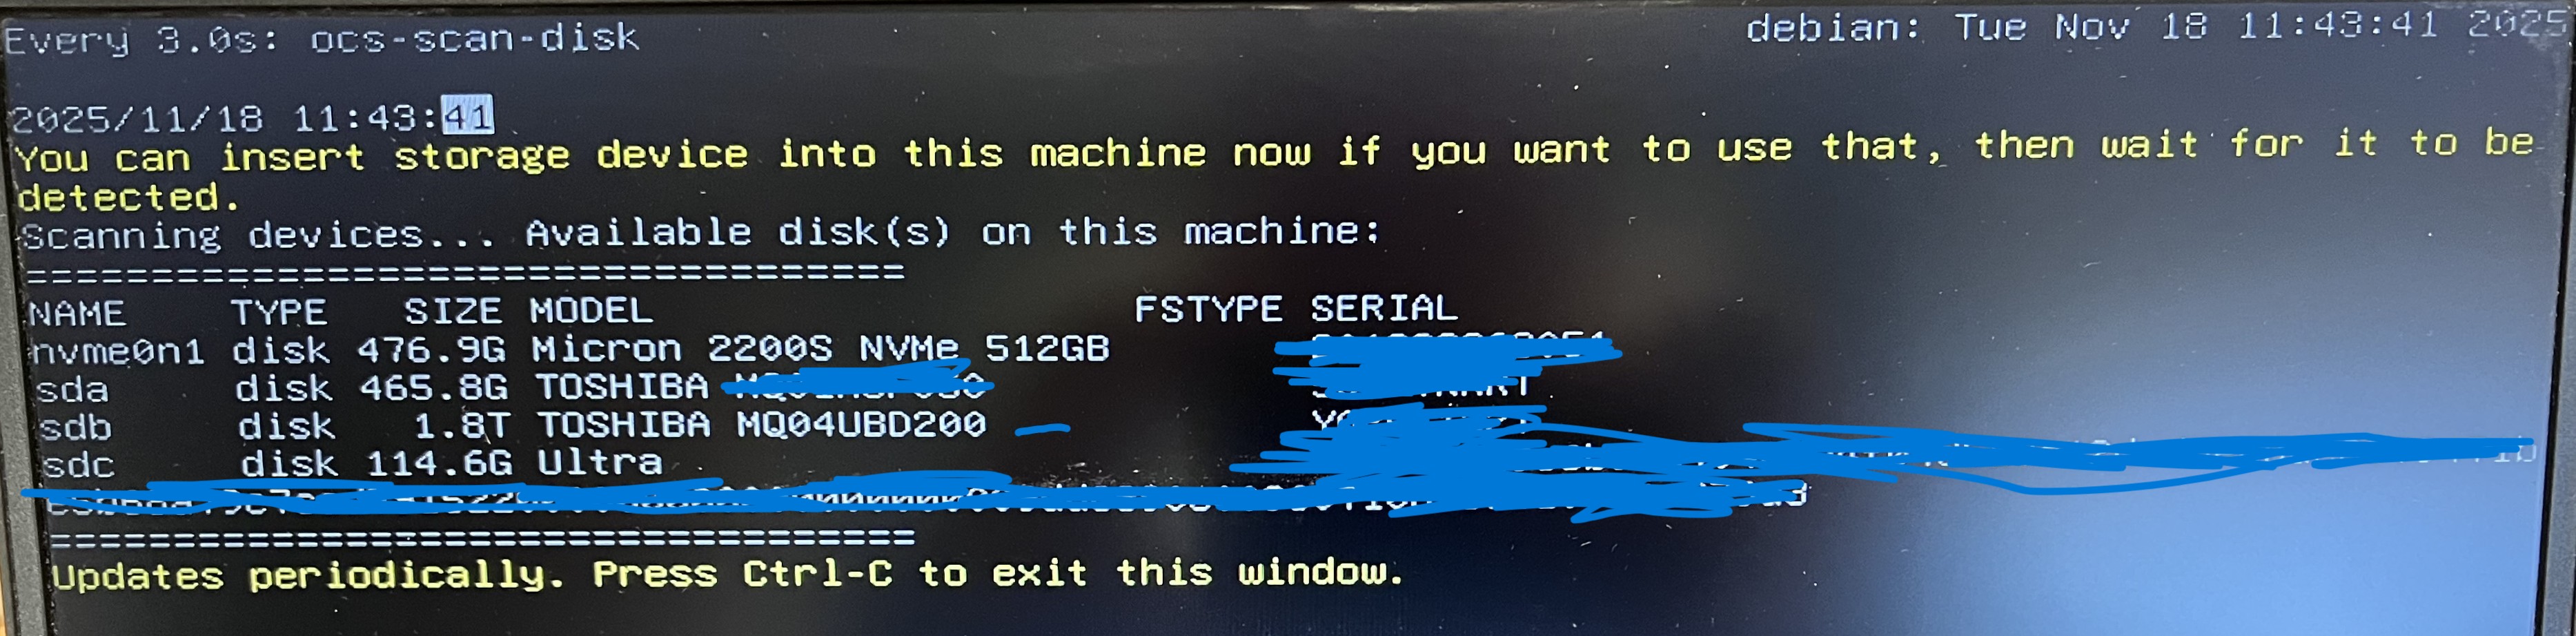
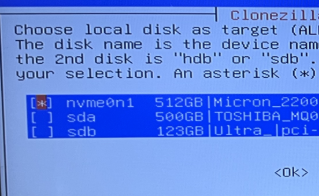
You need to make sure all your drives are there.
In my case, the SSD to be cloned is the 512Go (476.9G) Micron NVMe,
and my hard drive that will contain the image of the old machine will be the 1.8TB Toshiba.


Here you need to select the destination drive, in my case the Toshiba 1.8TB external hard drive.
Make sure your external hard drive is formatted as exFAT or NTFS, but not FAT32.
Also, ensure you have enough free space.

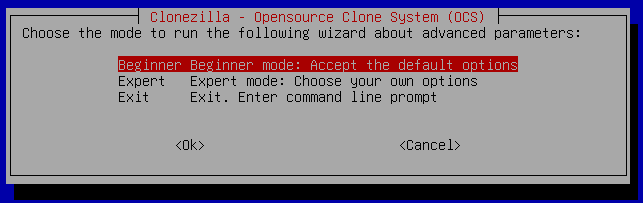
You can select beginner mode.
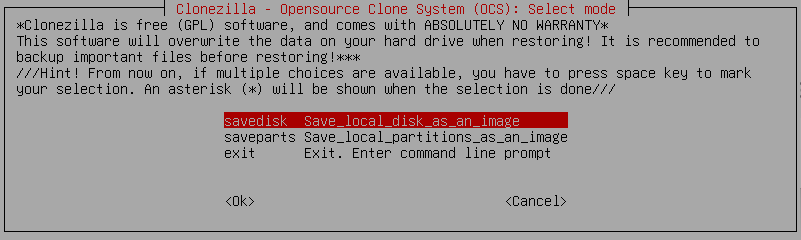
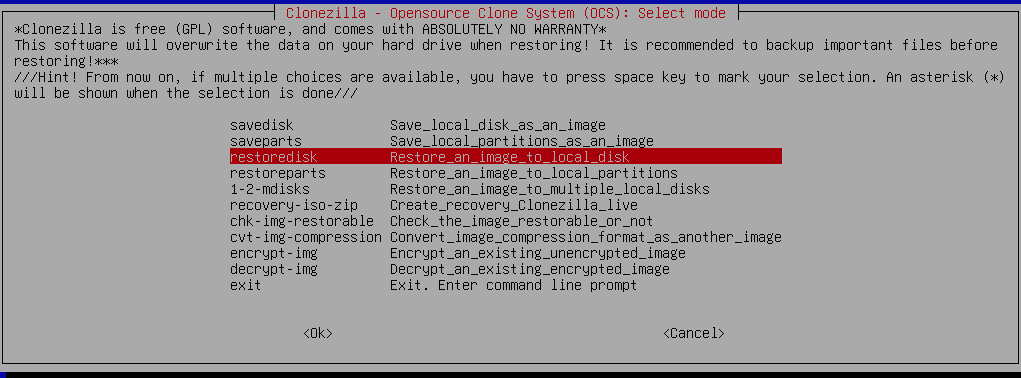
You can select save disk.

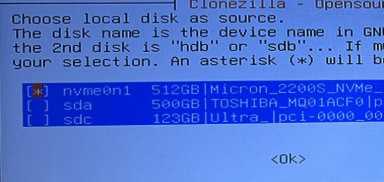
You can select the source disk (NVME).
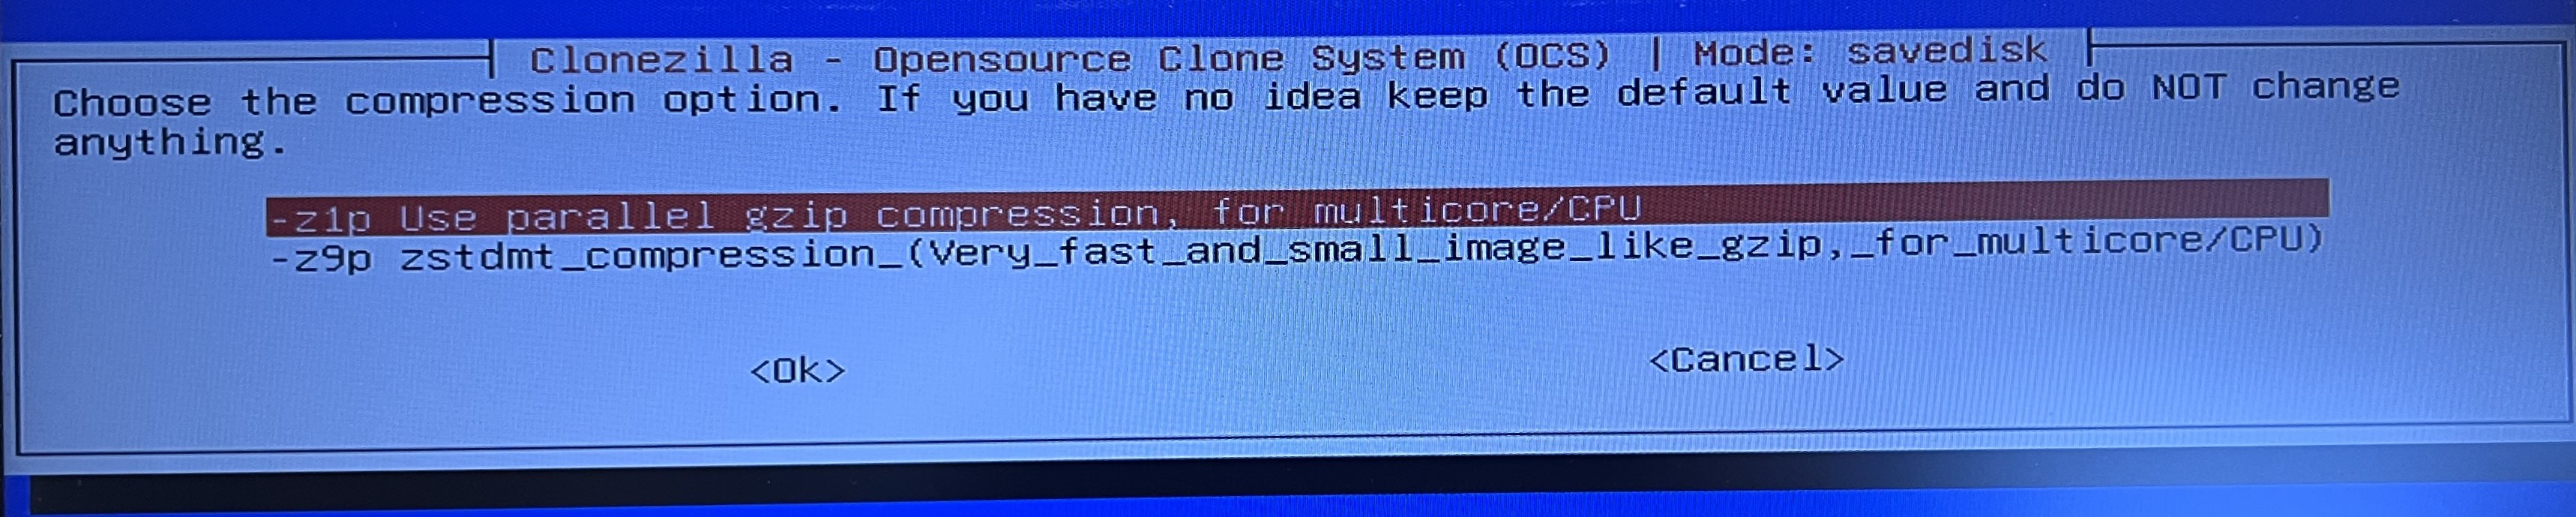
You can select use the parallel gzip compression for multicore.

Once the copying is complete, the computer should shut down, if you selected that option.
New Machine :
You need to make sure all your drives are there.
In my case, the SSD to be restore is the 1TB (953.9G) SAMSUNG NVMe,
and my hard drive that will contain the image of the old machine will be the 1.8TB Toshiba.
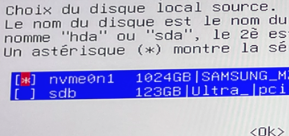
Choose the nvme.
Once the copying is complete, the computer should shut down, if you selected that option.
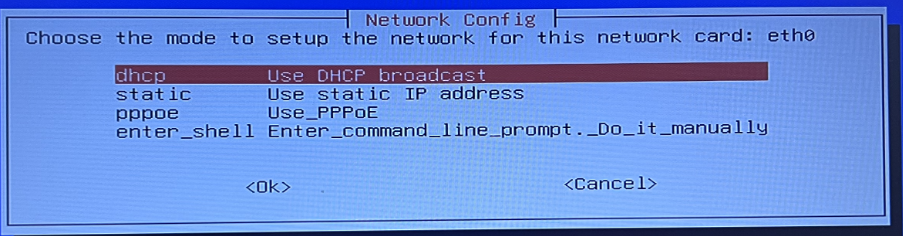
Cloning with the Network :
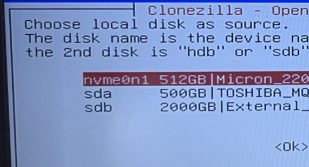
In my case, the SSD to be cloned is the 512Go (476.9G) Micron NVMe,
Old machine :
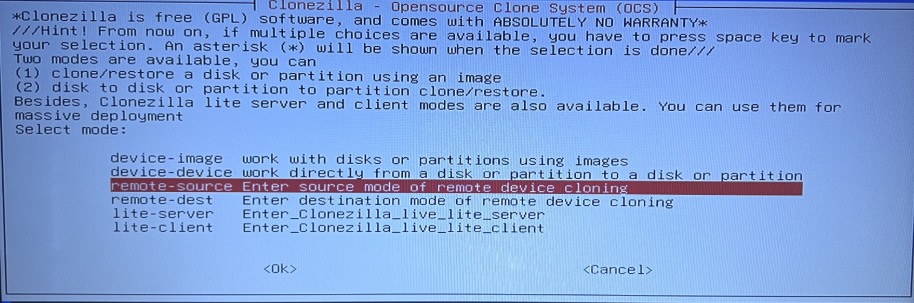
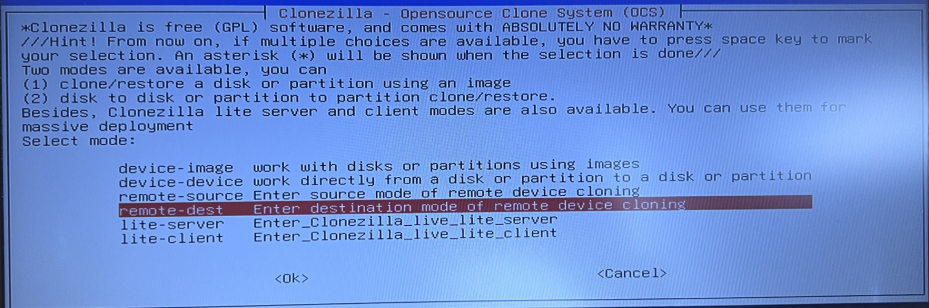
Select Remote-Source


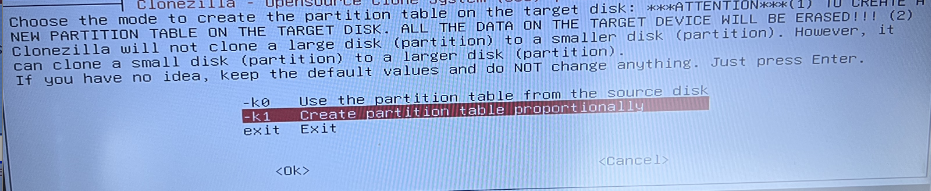
It depends on whether you are using the same disk size, for example 512GB to 512GB, in which case you can use k0.
But if you want to automatically partition the free space on your SSD using Clonezilla, for example 512GB to 1TB, you must use K1.

Please note : The ip Address is 192.168.1.175
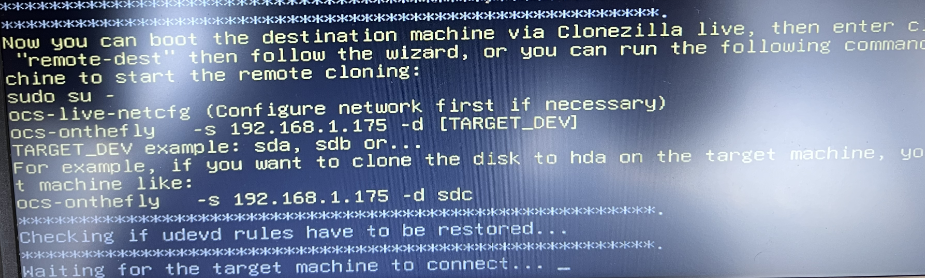
New machine :
Select Remote-Destination

IP Address from the old machine.
Select the NVME of destination.
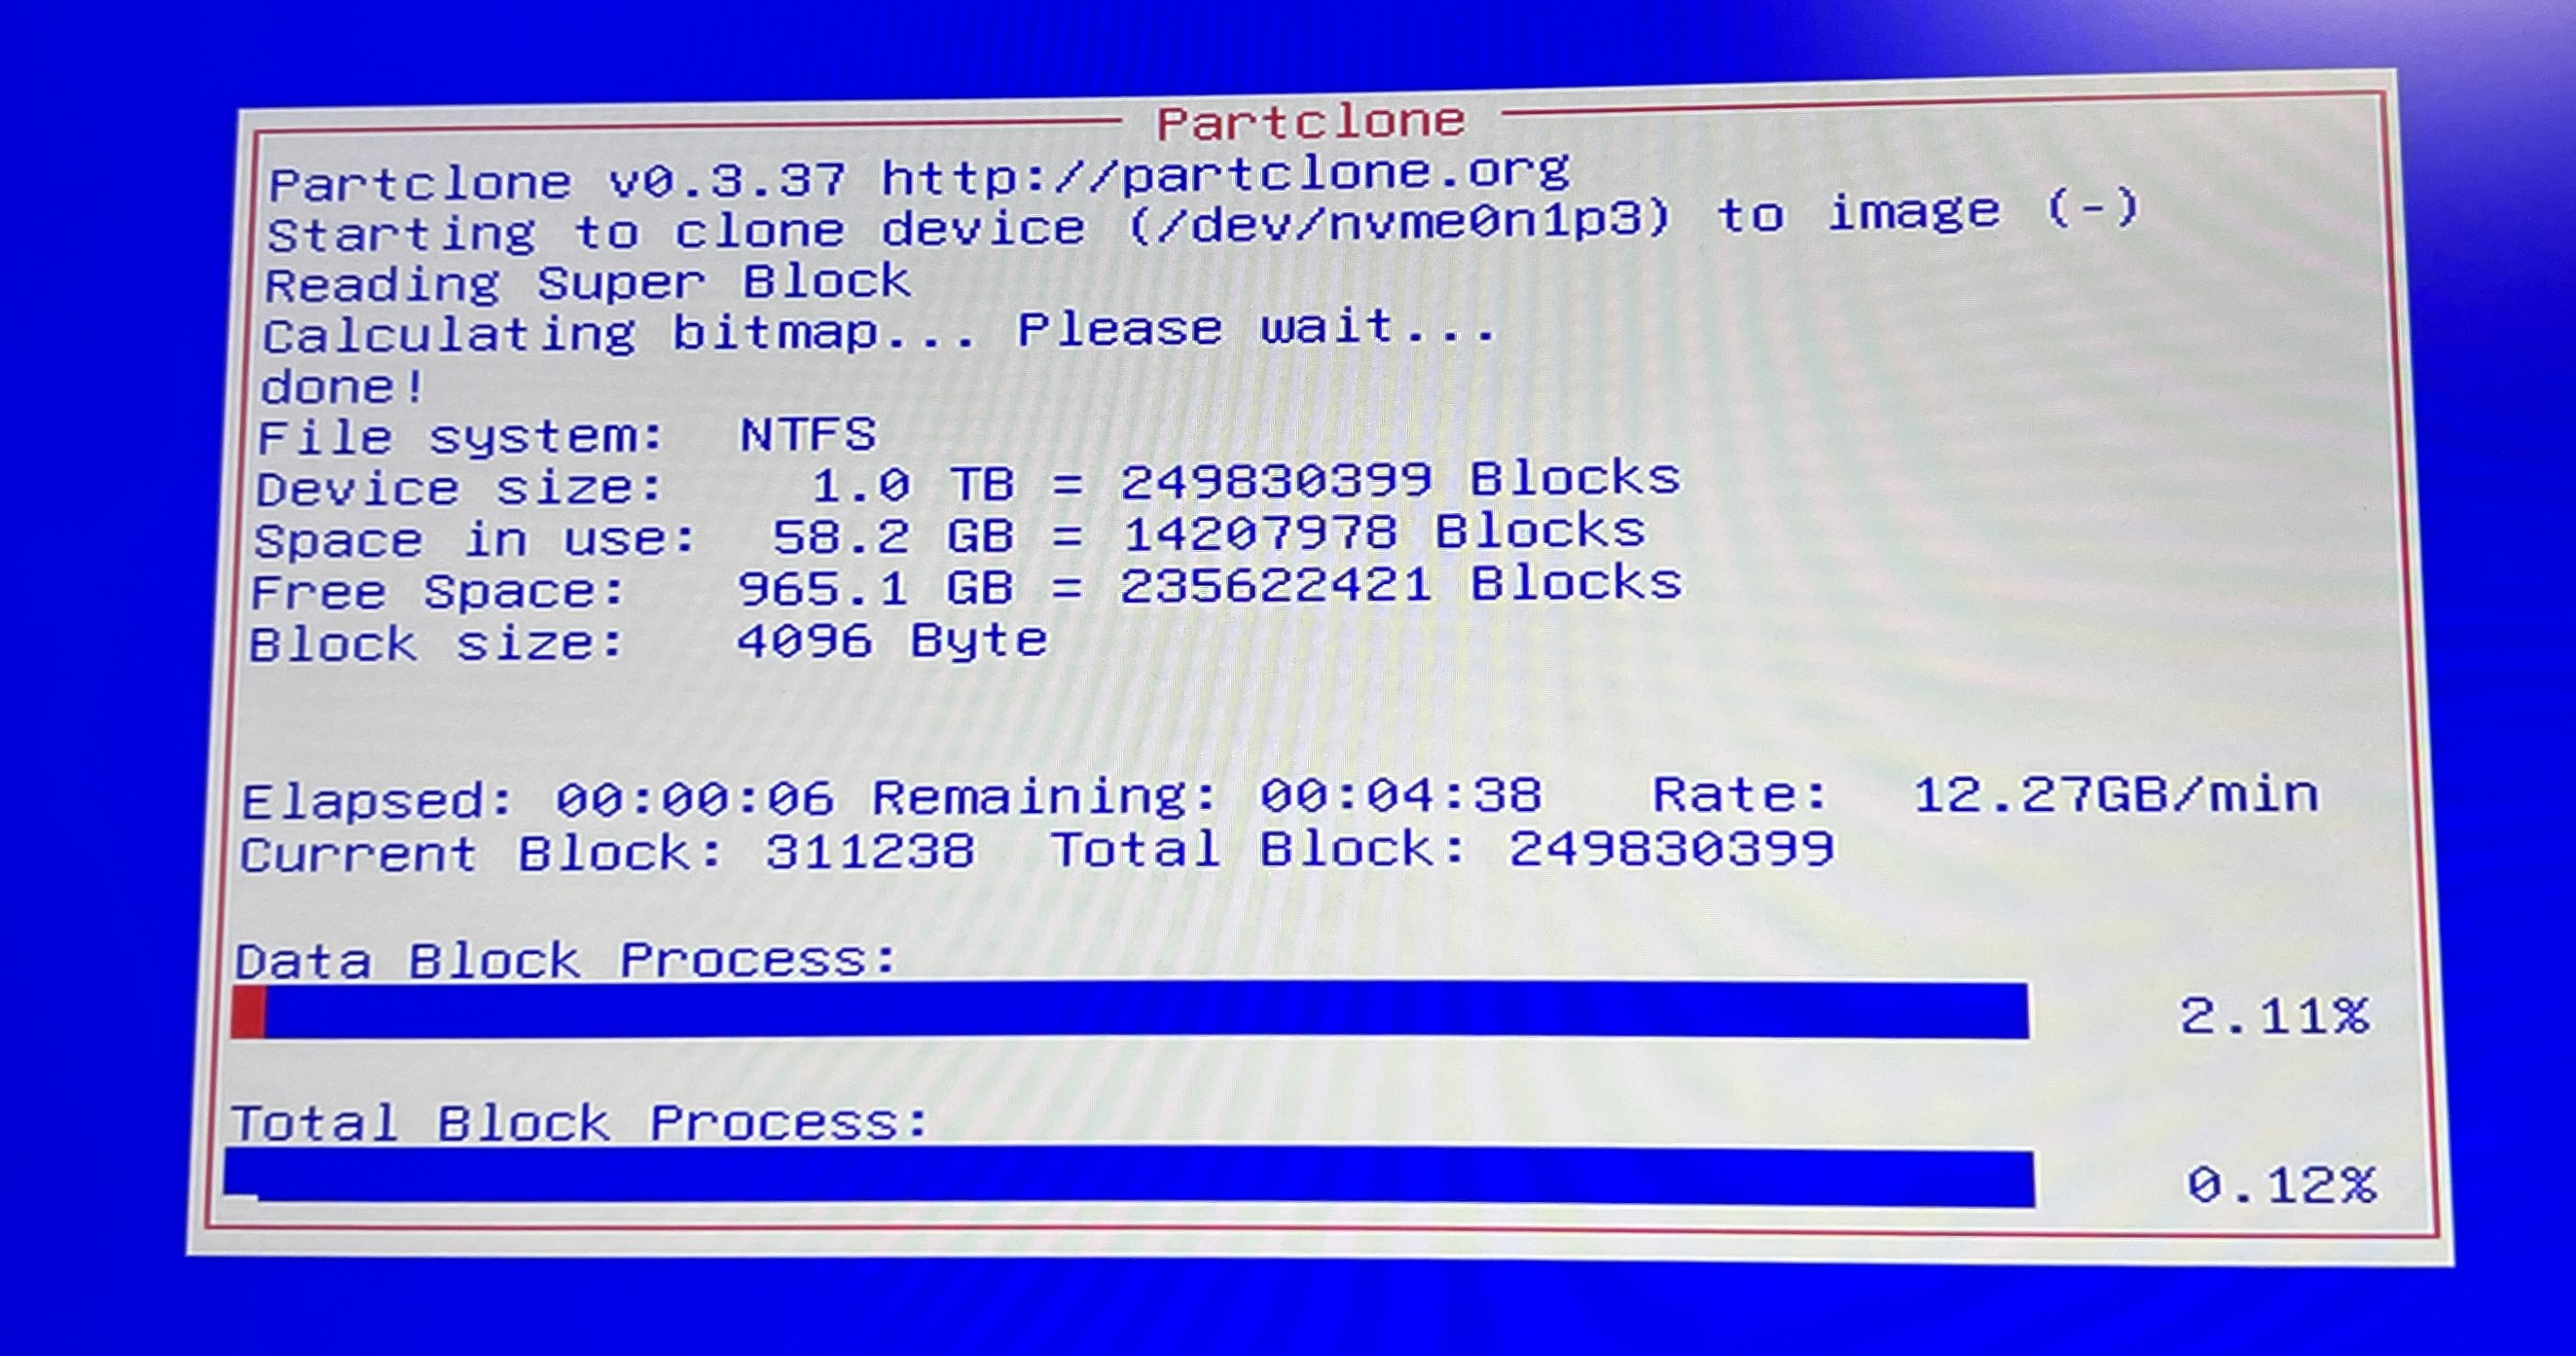
Wait.