SystemRescueCD
This method can be used to migrate virtual machines between multiple machines.
You can use it to migrate from VMware ESXi to Proxmox, or from one physical machine to another; there is no limit. However, this method copies block by block, so you must ensure that your destination disk is larger or of equal capacity.
Note that cloning can only be performed with the same or larger hard drive size.
It is essential that both machines can connect.
If the source machine uses UEFI mode, the target machine must also be configured in UEFI mode.
Similarly, if the source machine is running in Legacy mode, the target machine must also be in Legacy mode.
This method works for both Windows and Linux, as long as Linux can properly see the disk.
Copy machine overview :
Note here :
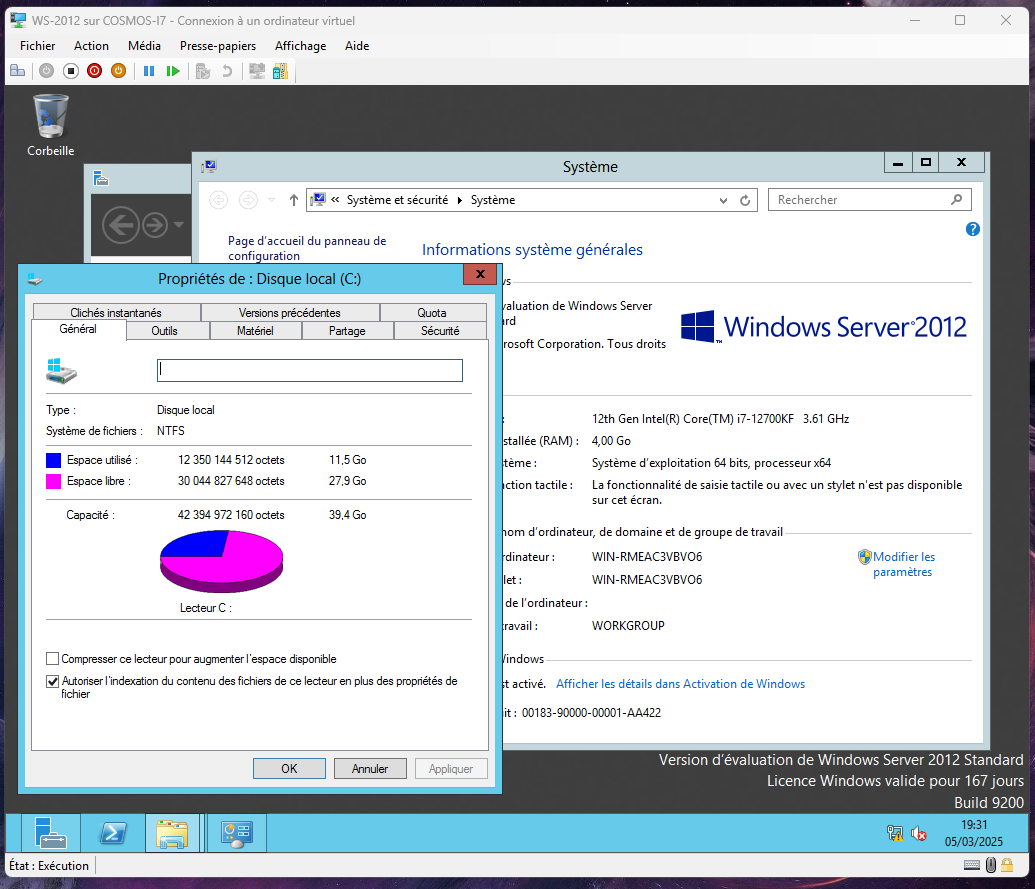
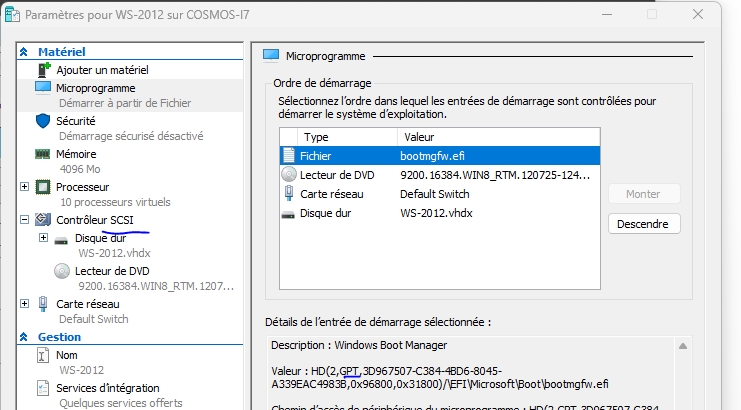
Hard drive: 40 GB SCSI
System installed in UEFI (Hyper-V Generation 2)
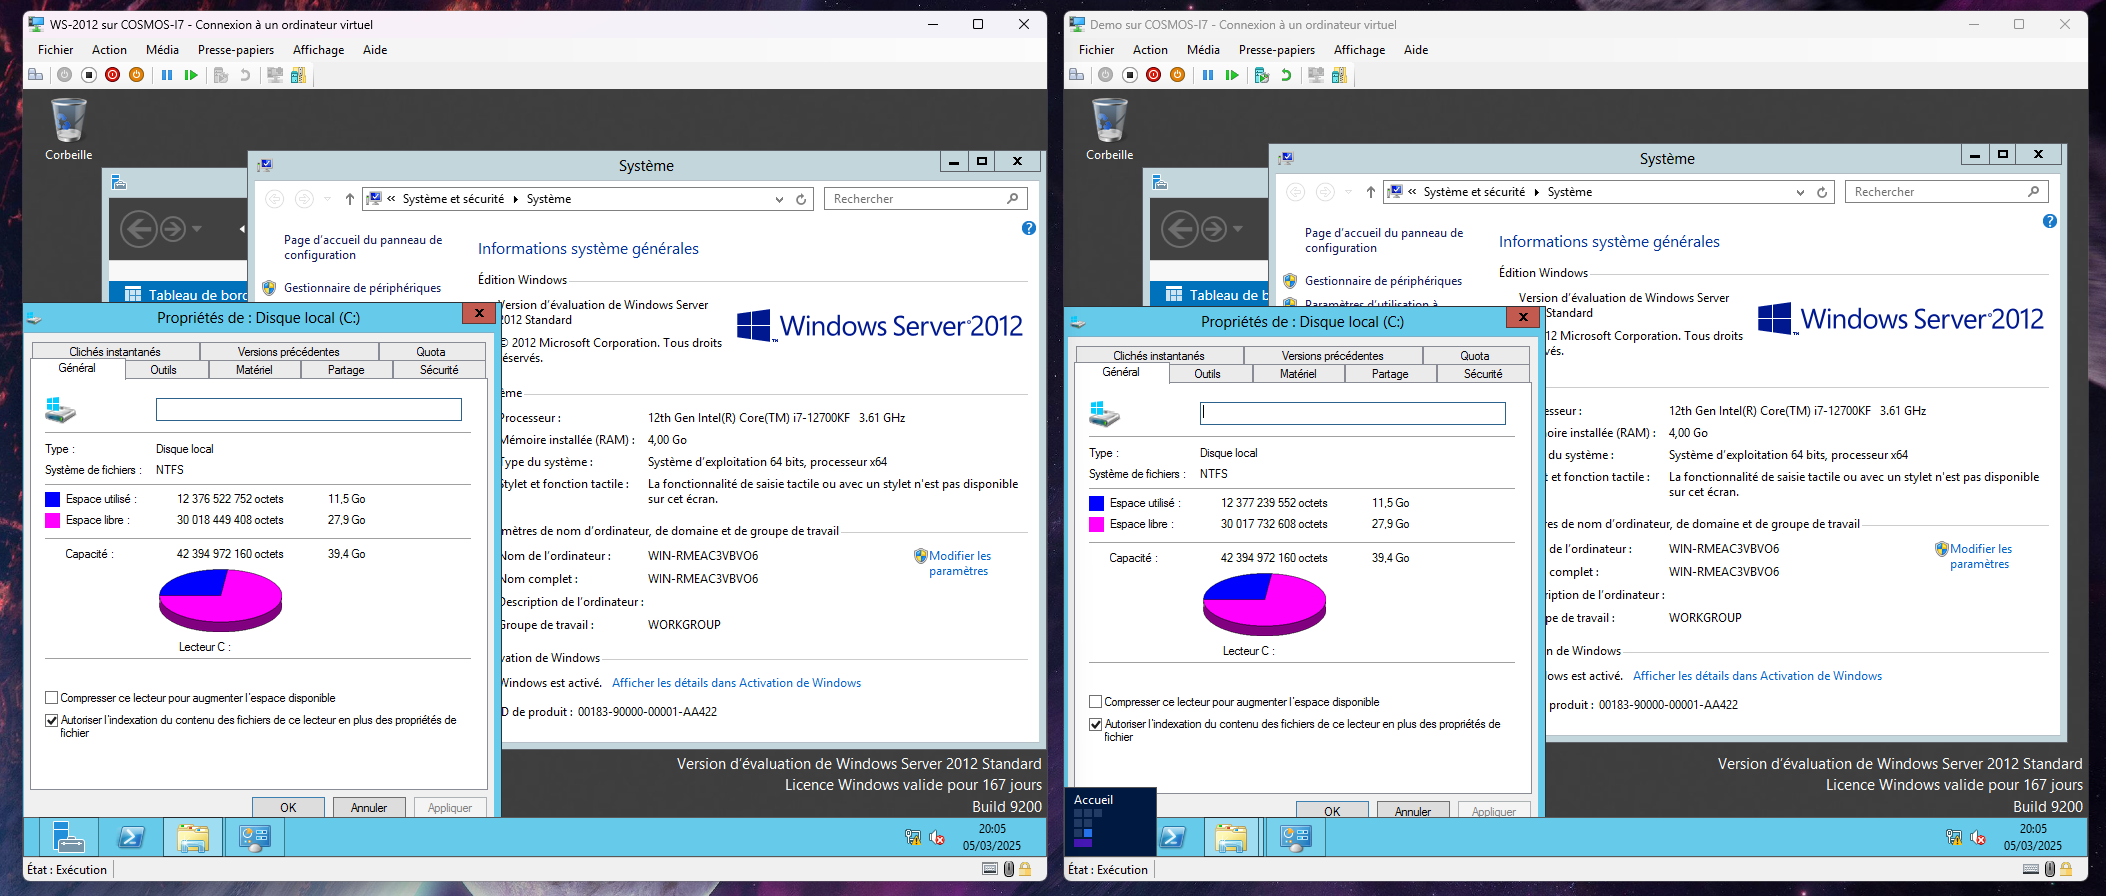
As you can see, my demo machine is empty :
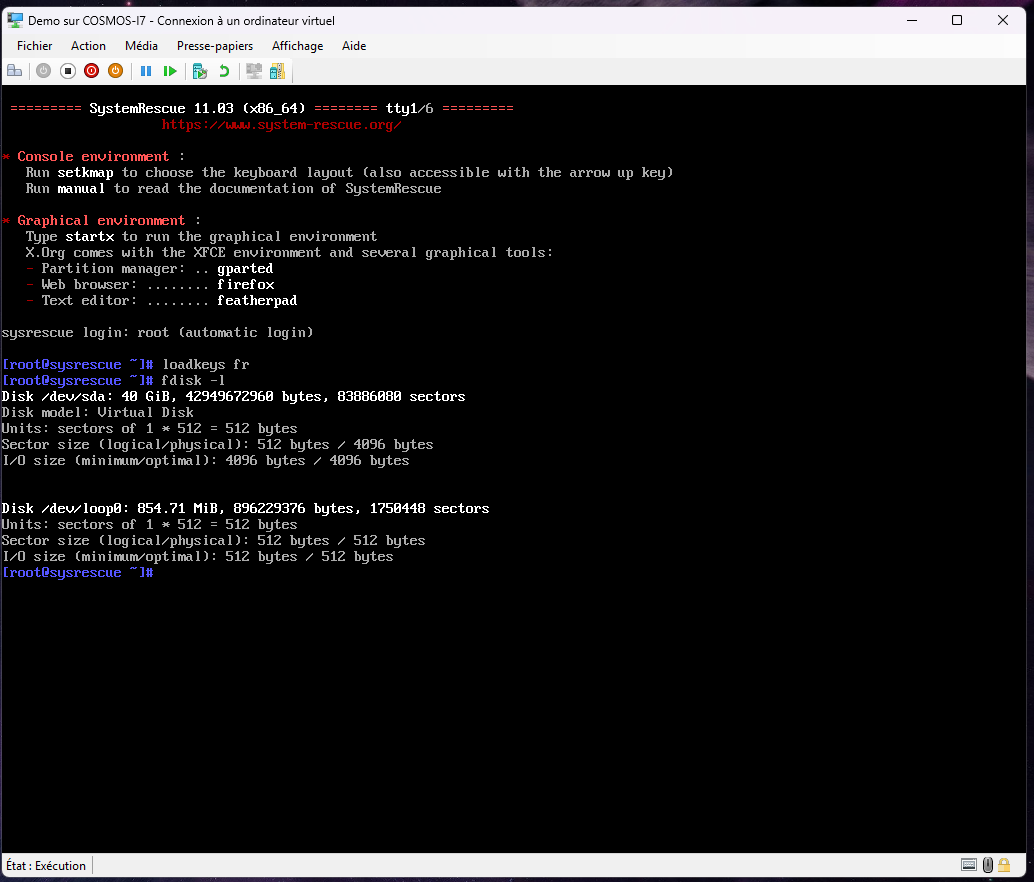
Step 1 : Download SystemRescue CD
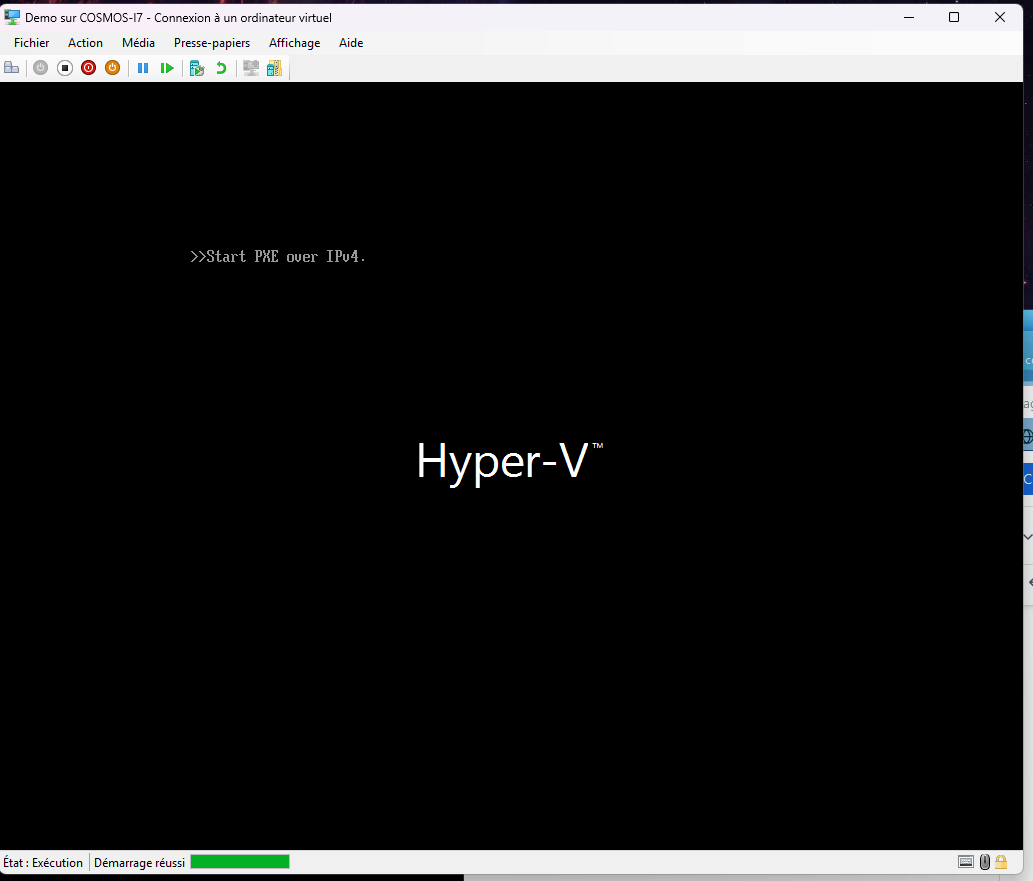
Step 2 : Boot both machines from SystemRescue CD
Machine with data :
Empty Machine :
Step 3 : Preparing for cloning
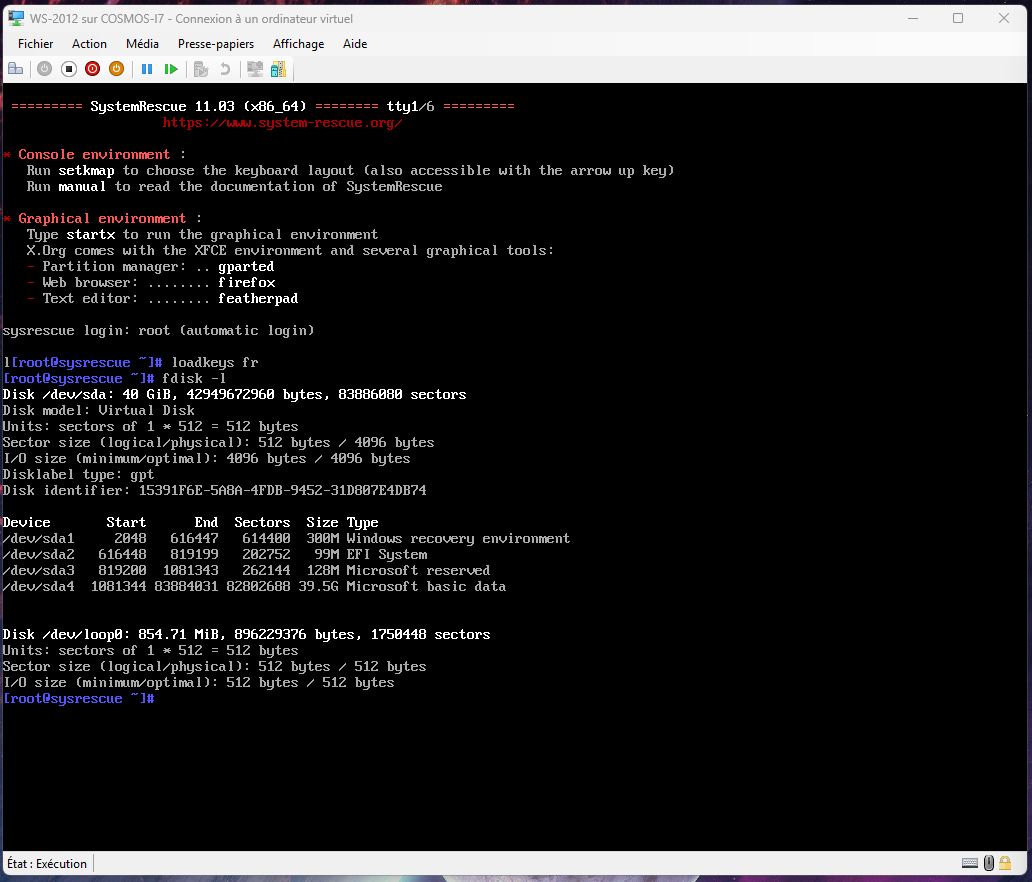
Set the keyboard to AZERTY :
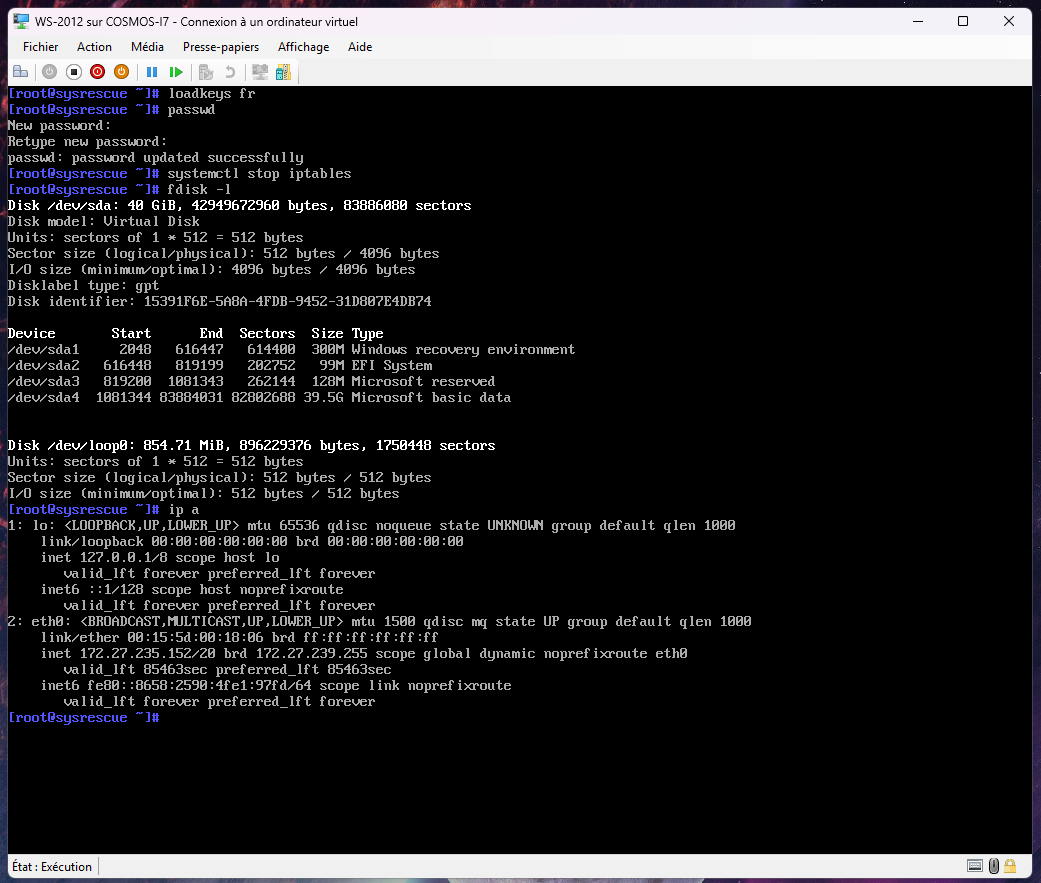
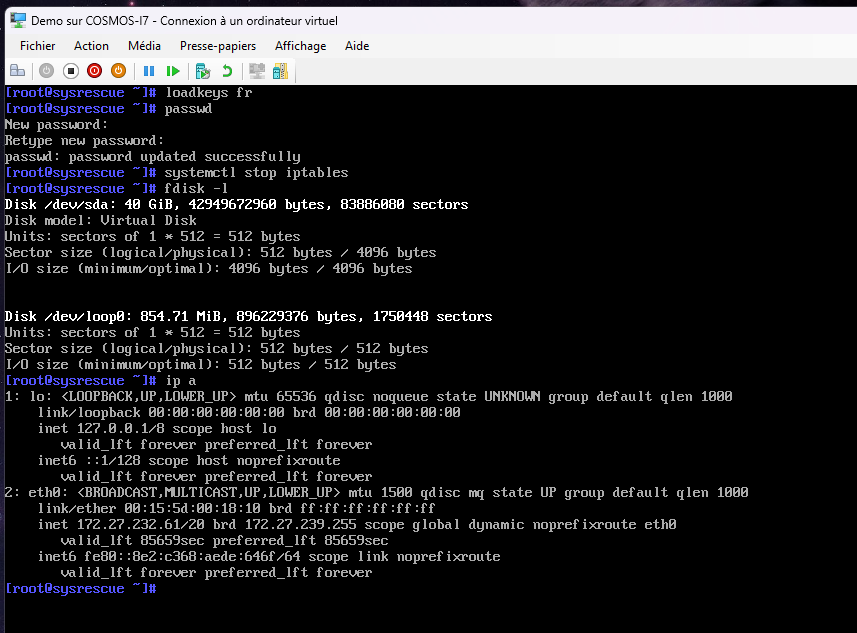
loadkeys frSet a password for Root to access via SSH :
passwdStop the firewall that is blocking the SSH connection :
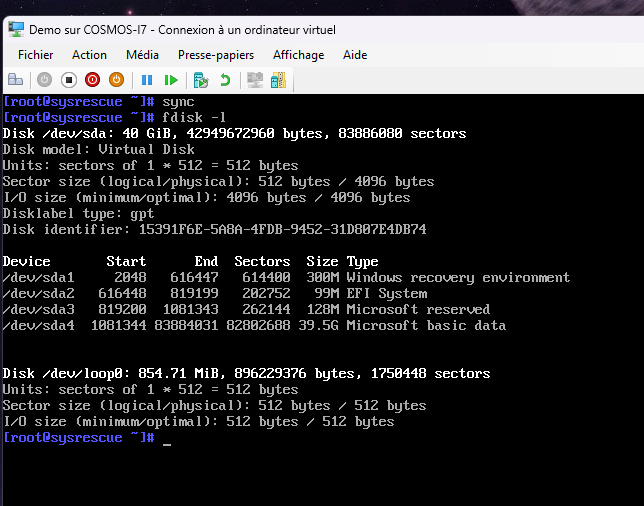
systemctl stop iptables Verify the correct disk to copy in both machine A and machine B :
fdisk -lIn my case, /dev/sda
Note the IP address of the machine to which you want to copy.
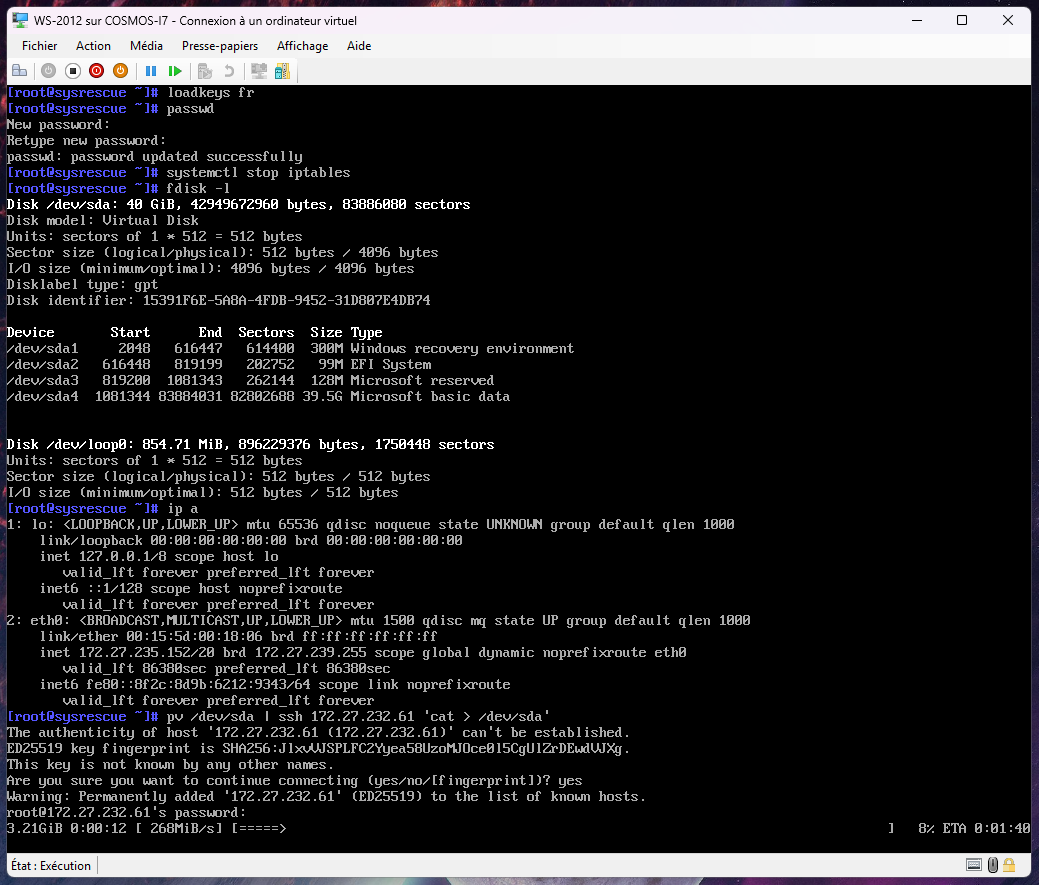
ip aStep 4 : Cloning
This is the IP address of machine B to be entered on machine A.
Therefore, the machine containing the operating system must tell the other machine to take the hard drive and send it via SSH to the other machine, to the other hard drive.
First option (quick): use the command CAT + PV (PV stands for time):
pv /dev/sda | ssh 192.168.0.1 'cat > /dev/sda'Here, 192.168.0.1 is used as an example.
Second option (slow): use the dd command :
dd status=progress if=/dev/sda | ssh 192.168.0.1 'dd of=/dev/sda'Here, 192.168.0.1 is taken as an example.
Step 5 : Synchronize the entries on both machines
To ensure that the cloning was successful and that there are no pending write operations, I highly recommend performing a sync after the operation.
syncThen you can restart/shut down the corresponding machines.
Demo :
Note here: The IP address of the Demo machine. (Machine B) (Empty)
Only from machine A:
sync on both machines :

Machine B with the following data :
Restart :
Clone successful, be careful, the network cards will change their MAC address and interface.